C#编写Windows服务程序的图文详解
一、创建一个Windows Service
1)创建Windows Service项目
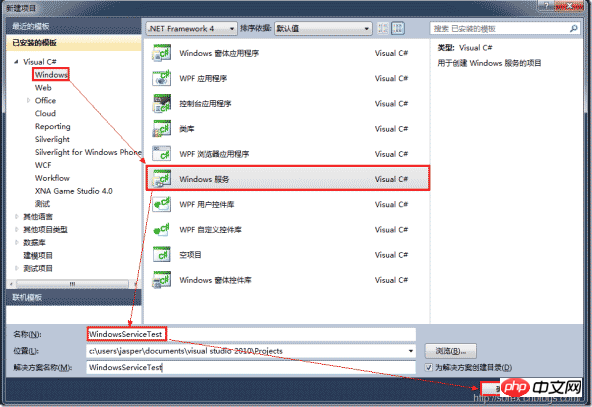
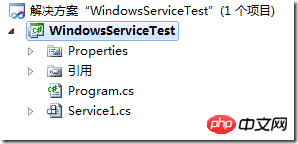
2)对Service重命名
将Service1重命名为你服务名称,这里我们命名为ServiceTest。
二、创建服务安装程序
1)添加安装程序
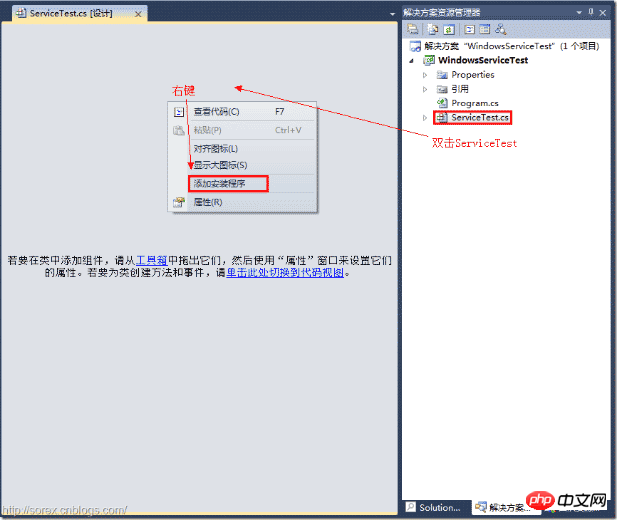
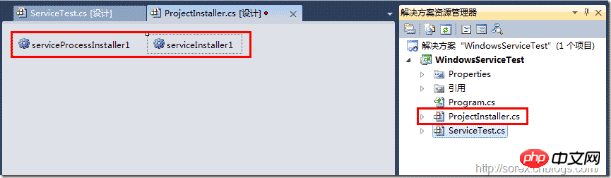
之后我们可以看到上图,自动为我们创建了ProjectInstaller.cs以及2个安装的组件。
2)修改安装服务名
右键serviceInsraller1,选择属性,将ServiceName的值改为ServiceTest。

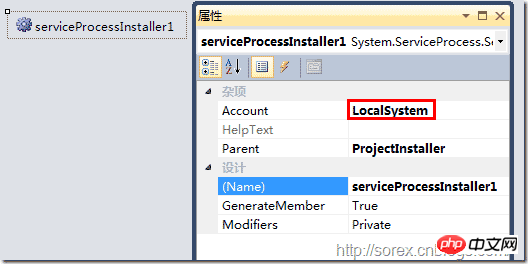
3)修改安装权限
右键serviceProcessInsraller1,选择属性,将Account的值改为LocalSystem。
三、写入服务代码
1)打开ServiceTest代码
右键ServiceTest,选择查看代码。
2)写入Service逻辑
添加如下代码:
using System;using System.Collections.Generic;using System.ComponentModel;using System.Data;using System.Diagnostics;using System.Linq;using System.ServiceProcess;using System.Text;namespace WindowsServiceTest {public partial class ServiceTest : ServiceBase {public ServiceTest() {InitializeComponent();}protected override void OnStart(string[] args) {using (System.IO.StreamWriter sw = new System.IO.StreamWriter("C:\\log.txt", true)) {sw.WriteLine(DateTime.Now.ToString("yyyy-MM-dd HH:mm:ss ") + "Start.");}}protected override void OnStop() {using (System.IO.StreamWriter sw = new System.IO.StreamWriter("C:\\log.txt", true)) {sw.WriteLine(DateTime.Now.ToString("yyyy-MM-dd HH:mm:ss ") + "Stop.");}}}}这里我们的逻辑很简单,启动服务的时候写个日志,关闭的时候再写个日志。
四、创建安装脚本
在项目中添加2个文件如下(必须是ANSI或者UTF-8无BOM格式):
1)安装脚本Install.bat
%SystemRoot%\Microsoft.NET\Framework\v4.0.30319\installutil.exe WindowsServiceTest.exe
Net Start ServiceTest
sc config ServiceTest start= auto
2)卸载脚本Uninstall.bat
%SystemRoot%\Microsoft.NET\Framework\v4.0.30319\installutil.exe /u WindowsServiceTest.exe
3)安装脚本说明
第二行为启动服务。
第三行为设置服务为自动运行。
这2行视服务形式自行选择。
4)脚本调试
如果需要查看脚本运行状况,在脚本最后一行加入pause
五、在C#中对服务进行控制
0)配置目录结构
简历一个新WPF项目,叫WindowsServiceTestUI,添加对System.ServiceProcess的引用。
在WindowsServiceTestUI的bin\Debug目录下建立Service目录。
将WindowsServiceTest的生成目录设置为上面创建的Service目录。
生成后目录结构如下图

1)安装
安装时会产生目录问题,所以安装代码如下:
string CurrentDirectory = System.Environment.CurrentDirectory;System.Environment.CurrentDirectory = CurrentDirectory + "\\Service";Process process = new Process();process.StartInfo.UseShellExecute = false;process.StartInfo.FileName = "Install.bat";process.StartInfo.CreateNoWindow = true;process.Start();System.Environment.CurrentDirectory = CurrentDirectory;
2)卸载
卸载时也会产生目录问题,所以卸载代码如下:
string CurrentDirectory = System.Environment.CurrentDirectory;System.Environment.CurrentDirectory = CurrentDirectory + "\\Service";Process process = new Process();process.StartInfo.UseShellExecute = false;process.StartInfo.FileName = "Uninstall.bat";process.StartInfo.CreateNoWindow = true;process.Start();System.Environment.CurrentDirectory = CurrentDirectory;
3)启动
代码如下:
using System.ServiceProcess; ServiceController serviceController = new ServiceController("ServiceTest");serviceController.Start();4)停止
ServiceController serviceController = new ServiceController("ServiceTest");if (serviceController.CanStop)serviceController.Stop();5)暂停/继续
ServiceController serviceController = new ServiceController("ServiceTest");if (serviceController.CanPauseAndContinue){if (serviceController.Status == ServiceControllerStatus.Running)serviceController.Pause();else if (serviceController.Status == ServiceControllerStatus.Paused)serviceController.Continue();}6)检查状态
ServiceController serviceController = new ServiceController("ServiceTest");string Status = serviceController.Status.ToString();六、调试Windows Service
1)安装并运行服务
2)附加进程
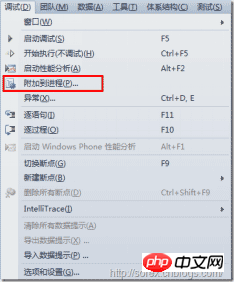
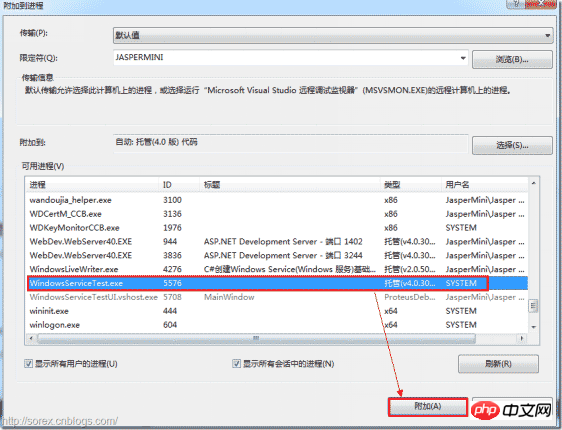
3)在代码中加入断点进行调试

七、总结
本文对Windows service的上述配置都未做详细解释,但是按上述步骤就可以制作可运行的Windows Service,从而达到了工作的需求。
更多相关文章
- ASP.NET Core中用户登录验证实现最低配置的示例代码
- 代码详解AVL树的插入
- 厌倦写代码的人是如何做软件开发的
- 一招搞定C++调用Lua代码配置文件函数(附代码)
- Unity实现脚本插件[Script Create Dialog]图文详解
- 利用Unity脚本自定义分辨率实现相机截一张高清截图
- C#/基于Unity 行为树的实现步骤【纯代码】
- 简要分析Unity计时器脚本Timer的用法(附代码)
- C++---浅拷贝、深拷贝、写时拷贝讲解(附代码)